

Baked Alaska
Written by Jen - August 29, 2021

Sometimes I can’t help but to wonder why old recipes disappear. We as humans have an infinite affinity for nostalgia, having music playlists for each decade, bringing back shoulder pads, using grandmas dining room table, but what about food? So many dishes just seem to fall of the menu and never return. I am not knocking innovation or creativity; it just seems that with three meals a day to eat 7 days a week we have the countless opportunity to cook a variety of recipes including the ones from the past. I am not talking about the recipes that involved unheard of amounts of gelatin or appetizers whose main ingredients were canned vegetables or mayonnaise, but I am talking about the ones that at first glance seem too complicated, impractical, and/or not fit for modern tastes.
What seems infinitely tragic is that with a few minor changes many of these recipes are not only incredibly flavorful but are a fabulous addition to any cannon of recipes. Enter our Baked Alaska obsession. This enigmatic dessert seems at first glance to be too much effort to be worth it. Not to mention when I first looked into his recipe I had little frame of reference on flavor, texture, or difficulty. I was determined to make it for an event I was holding and after much toiling the result is the recipe below. I must say that this was an absolute delight at the event. Everyone was surprised and elated at how incredibly delicious and complex the experience was. Plus, it looks ethereal when preparing, serving, and eating. Allow me to break down and demystify this gem.
Size- I like to make this particular dessert in personal size portions. The classic version is a large, cake sized dessert that is served sliced. I honestly don’t want to think about the difficulty of slicing ice cream, progressive melting of the whole thing, the storage of leftover etc. Making personal sized makes it simple to serve and will excite your guests to no end. In order to do this, I use a silicone dome baking mold. I have mold with 3-inch domes that works perfectly. This is not necessary at all, and the ice cream can just be scooped using a round scoop onto each cake piece. The dome molds just allow for even distribution and control of the freezing process. You can absolutely make the below recipe full size if you would like. Just substitute molds/scoops for a medium sized bowl or any pan you like. Feel free to make it square, round, flat, etc. That’s the fun part.
Flavors- For this recipe we kept the flavors simple, clean, and tart but each layer can be easily substituted to the season, what you have on hand, or the theme of your event. The cake can be flavored or switched out for brownie, cookies, or even graham cracker crust (this is a little more technical). The jam can be any spread you like for instance peanut butter, caramel, fudge, or even pumpkin in the fall. Lastly the ice cream can be any frozen treat you desire from sorbet to semifreddo. Feel free to even add any mix ins you like. This freedom makes this dessert infinitely applicable to occasions all year round.
Store-bought vs. Homemade- Of course we are a huge fan of making our food at home but especially with a dish with some steps involved such as this, feel free to store buy as many of the pieces as you like. Everything except the meringue is easily found in the store and will yield a delicious result. Generally, I like to make at least the base and spread. The cake below is inspired by Ina Garten’s Birthday Sheet Cake and the jam is Erbe’s Blackberry Jam. Typically I will buy good ice cream to save myself the two-day task that is making my own ice cream. If it is a special event though, this can be planned in advance and yields a truly transcendent result.
Help- The recipe below may seem overwhelming with the sheet number of steps involved. Trust me the steps are fairly simple and can be of course altered for ease such as purchasing pound cake at the store. One secret I learned about this dessert is it can actually be made well in advance and stored in the freezer. Yes, even including frosting with meringue. I have frosted these days in advance making it as easy as pulling them out of the freezer, putting them on a plate, and torching them in front of guests for impact of course. Even with this option I will admit that we have decided we need these desserts on a whim, and I have made them in one night in time for dessert. Don’t be afraid to give this one a try and I promise you will see why it was worth it.

Baked Alaska
Makes 10 personal sized Baked Alaskas
Ingredients
1 Gallon Store Bought Ice Cream
For Cake
2 ¼ Cup Unsalted Butter
3 Cups Sugar
6 Eggs
1 Cup Sour Cream
2 Teaspoons Vanilla Extract
1 Vanilla Bean or 1 tsp Vanilla Bean Paste (Optional)
3 Cups All Purpose Flour
1 ½ tsp Salt
1 tsp Baking Soda
For Jam
½ Cup of Blackberry Jam (See recipe for Blackberry Jam)
For Meringue
8 Large Egg Whites
2 Cups Sugar
1/8 tsp cream of tarter
Directions
Take ice cream out of the freezer until it is just scoop-able. Once soft enough, fill each cavity in your mold to the top pressing down with a silicone spatula so the bottoms are as flat as possible and the gaps between the ice cream and mold are minimal. Place in the freezer to harden. If you do not want to use a mold, use an ice cream scoop (round if possible) to scoop even domes onto a parchment lined sheep pan. Place sheet pan in freezer.
While the ice cream is freezing, make your cake. Preheat oven to 350 degrees F. Place the butter and sugar in a stand mixer and cream on medium high speed until light and fluffy. This should take 4-6 minutes. Once creamed together, add your eggs with the mixer on low one at a time, allowing each to incorporate before adding the next egg. Once combined, add your sour cream, vanilla, and vanilla bean. In a separate bowl whisk together your flour, salt, and baking soda. Slowly add this to your wet mixture on low until just combined. Don’t overmix. When it looks just incorporated take the bowl off the mixer and use a rubber spatula to scrape the bowl and fold in any unmixed ingredients. To bake, butter and flour a half sheet pan (18in by 13in). Pour mixture into pan and flatten with spatula. Bake at 350 degrees F for 30-35 minutes. Begin checking for doneness at 25 minutes by inserting a toothpick in the center. You want the toothpick to come out clean. Cool to room temperature.
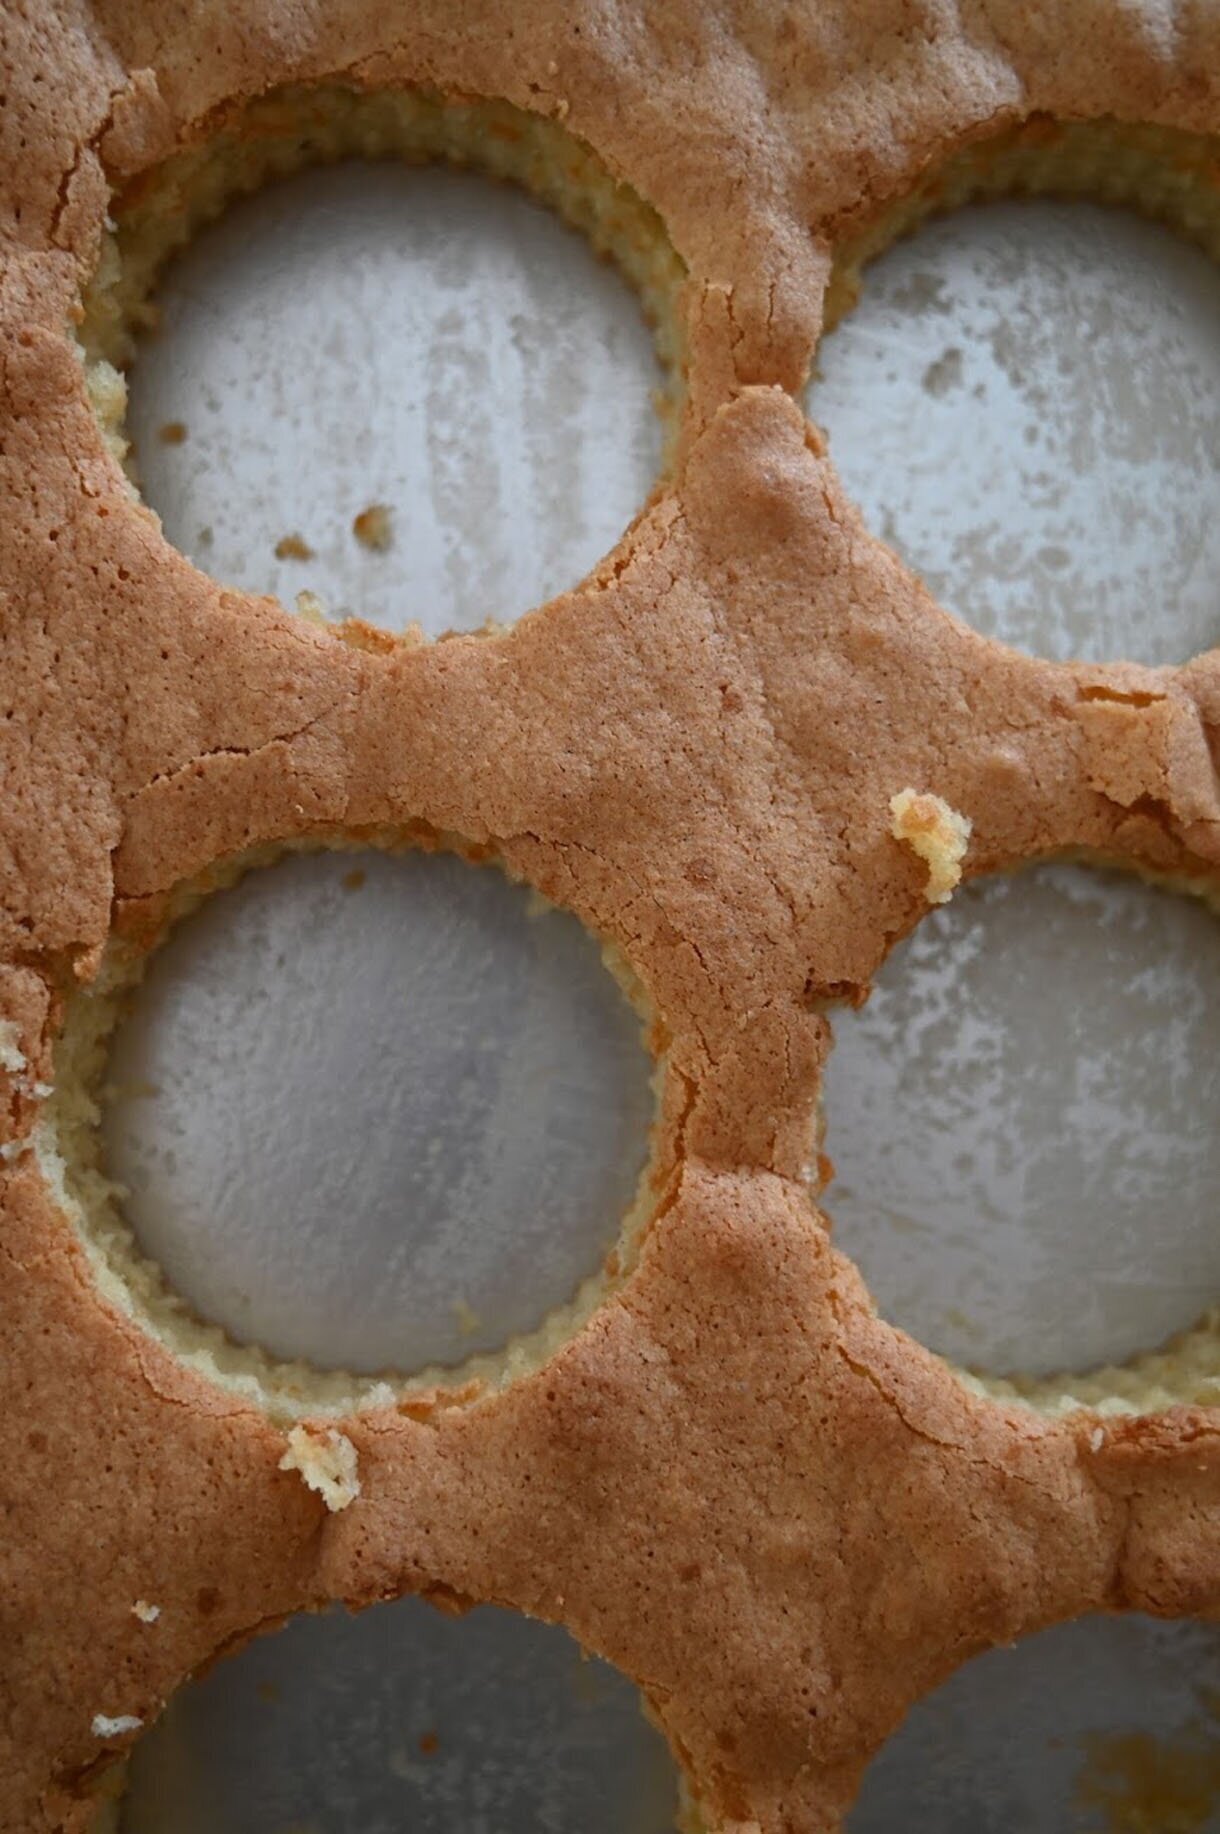
Once the cake is cooled, cut rounds out of the cake using a 3in cookie cutter or a cup with a similar diameter. They do not have to fit perfectly but try to get close. Spread each of the rounds of cake with a healthy amount of jam and set aside. Take your molds out of the freezer and top each mold with the cake round jam side down. Meaning the jam and ice cream should be touching. If you scooped the ice cream, use a small spatula or fork to lift the scoops and place on top of each cake round. Return your molds or trays to the freezer while you make meringue.
To make the Swiss meringue, place your egg whites, sugar, and cream of tarter into a heat proof bowl. If your stand mixer bowl is heat proof, use this to save a step. Place over a pan of simmering water (the water should not touch the bottom of the bowl) and with a whisk, mix the egg whites continuously while warming. The purpose is not to whip the egg whites at this stage, just to mix so they don’t scramble. Continue mixing until the sugar is dissolved. You can tell it is dissolved when you rub the egg whites with two fingers, and it is no longer grainy. When the sugar is dissolved, return to the stand mixer and install the whisk attachment. Then beat the egg whites on high until they expand in size, turn glossy white, and have stiff peaks. This process should take 8-10 minutes.
To assemble pull your molds or pans out of the freezer. If using mold, pop the ice cream/cake bases out of the mold and place them cake side down on a sheet pan. Then cover each dome completely in a coating of the meringue. They don’t need to be perfect and in fact the more swirls, peaks, etc. on each dome will be an incredible design when torched. Try to cover all of the ice cream and cake if possible. Once all of them are covered you can pause at this point and store them in the freezer for up to a week.
To serve, place each dome on a dessert plate. Using a kitchen torch, toast the outside meringue until brown and golden. Continue spinning the plat until all sides and the top are evenly toasted. You can make them as dark or as light as you like. Serve right away.
